I had this black pair of Joe’s Jeans that I struggled to incorporate in my West Coast wardrobe. It was a stunning pair of skinny jeans that I found way easier to wear during those brutal Midwestern winters with my riding boots. I thought of ways to make them ‘Cali-chic’ and wearable all year round. Distressing was my answer. Here’s my super quick and easy method.
Tools: Jeans (a pair you’re not afraid to beautifully ruin), scissors, a razor, tweezers, and piece of cardboard.

Method: Before grabbing the scissors, you’ll want to put on the jeans and mark where you would like the distressing. You may use a pen, chalk, or in my case, light colored eye shadow.
Next, put the piece of cardboard in the pant leg to prevent cutting the back side of the jeans (unless that’s your intention).
Then, you’re ready to cut. Pinch the fabric where you marked and snip a small hole. If you want slits, snipping is important because you can control how wide you want the slits once you break the fabric. Cut from the middle of the snip in both directions to desired end point. Use the tweezers to pull out threads individually from your finished slits, giving them an authentic look. If you want a small distressed hole, simply snip, and repeatedly scrape over the small hole with the razor, expanding it and giving it a fading effect. You may also use the razor on other areas of the jeans to scrape, giving the denim a worn look.
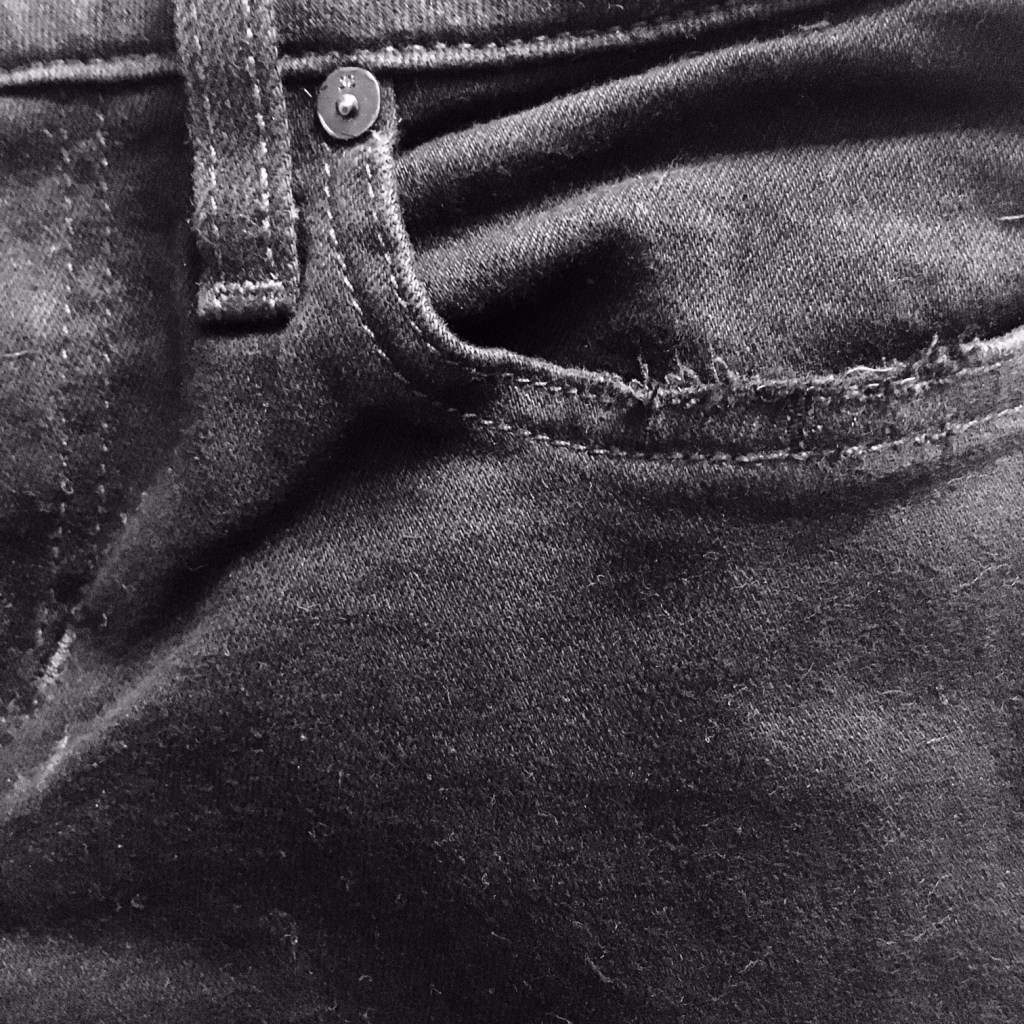
Get creative! I also cut the top of my pockets with the scissors and used the razor to make the edges look rugged. Distresses as much or as little as you like.

Check out my finished product, which resembles my favorite pair of J Brand jeans.


